Placing Exterior Walls
Placing Exterior Walls
by
Open 1st Floor View. Double click 1st Floor under floor plan views, in project browser.
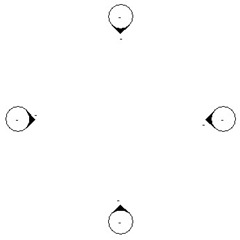
You will see an empty floor plan with 4 elevation views marks.
On the ribbon, home tab, activate wall tool.
On the contextual bar, make sure your wall type is generic – 200 mm.

On option bar, change height to roof level. And make sure chain option is checked.
Start inside the 4 elevation marks. Start about in the middle of them. Click your mouse, move your pointer to the left. You will see a temporary dimension. This dimension called ‘listening dimension’.
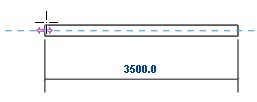
Move until you see listening dimension show value 3500, then click your mouse. Now move your pointer up, until you see dashed blue line. Now you should see tool tip say ‘vertical and extension’ or you could check it on your status bar. Type 7500 then press [enter]. Typing it is easier and faster!
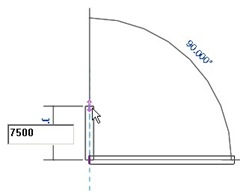
Continue to right. Type 3500 then [enter]. Down, type 500 then [enter]. Right once again, 3500 [enter].
Now your plan will look like this.
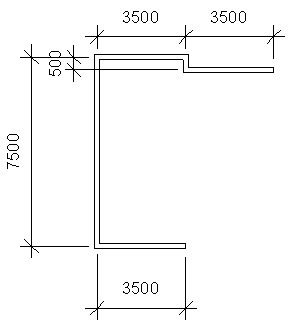
Press [esc] once to finish at this point. Wall tool should be still active. Change wall height on option bar to 2nd Floor. Add more walls with height up to 2nd floor as you see below.
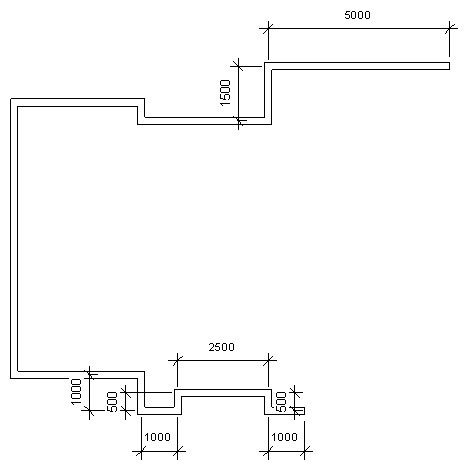
Now add more walls with height up to roof below.
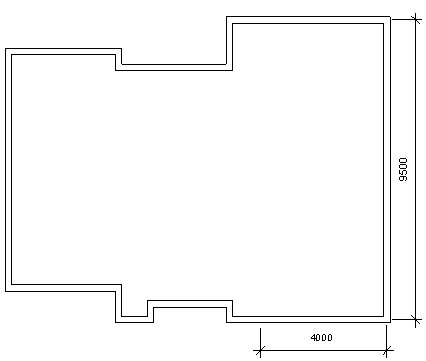
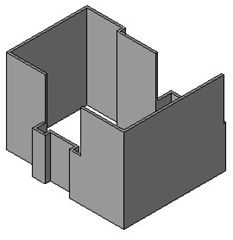
Let’s take a look what we have done. Click 3D at quick launch bar on upper left, above the ribbon.
You will see your model like this. Exciting right?
Now open 1st floor plan again. Add more wall with height to the roof like below.
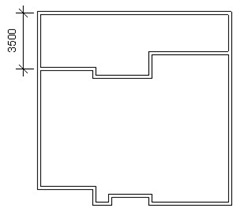
Move your pointer to 2nd wall from north. Move it to the right. Pay attention that temporary dimension snap to wall face. We don’t want this. We want it snap to wall centerlines.
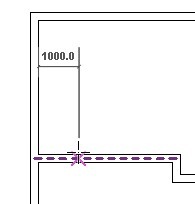
We will change Revit option a little bit. Open manage tab on Revit ribbon bar. Click settings>temporary dimension.
Change ‘temporary dimension measure from’, in walls group to centerlines.

Now we can add more walls. Move your pointer above the previous wall again, until you see temporary dimension from left wall. Type 2500 [enter]. Create vertical wall up, 2000mm. Horizontal wall left 500mm. Then finally up until snap to northest wall.
Check your model in 3D view. Remember that we haven’t change the wall height? It created to the roof, instead of only to 2nd Floor… ouch! Don’t worry, we will change it.
Open the 1st Floor plan. Select the 3 walls. You can hold [ctrl] and pick them one by one, or drag a rectangle from right to left.
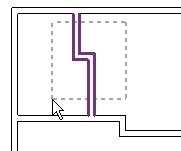
Click element properties>instance properties from ribbon bar. A dialog box will be opened. Find top constraint parameter, change it to Up to Level: 2nd Floor. Review your model in 3D view.
In designing with Revit, you don’t have to follow this workflow. You can edit the levels later, after you walls are placed. Or you can create all interior and exterior walls, then modifying it properties later. There are a lot of options!

Komentar
Posting Komentar