Creating Floor Edge Slab and Custom Component
Creating Floor Edge Slab and Custom Component
by
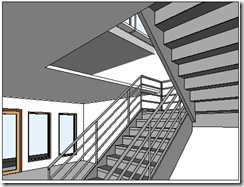 We have created ceiling in our Revit model.
Now let’s take a look to our void in stair area. There is a gap between
floor at 2nd story and 1st floor ceiling. In the real world, of course
this is not right. We have to close it.
We have created ceiling in our Revit model.
Now let’s take a look to our void in stair area. There is a gap between
floor at 2nd story and 1st floor ceiling. In the real world, of course
this is not right. We have to close it.There are several ways to do that, depends on your actual design. In this tutorial, we will add floor slab edge. But since the gap is too big, it can’t close all the gap. we are going to close the rest of it by creating custom ceiling component.
First thing first. We need to define what’s our floor slab edge look like. We are going to define it by creating a family.
From Revit menu, select new>family. Find Metric Profile-Hosted.rfa, and use it as template.
Let’s create a profile like this. You can use your own shape and size if you like.
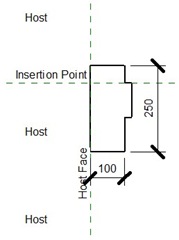
After you finish with this profile, save it. Give it a unique name so you can easily find it later.
Open the project that we’ve created. Load the profile to that project.You can do it from ribbon>insert tab>load family.
Now we are going to define a floor slab edge. Open 2nd floor plan, then activate floor slab edge tool.
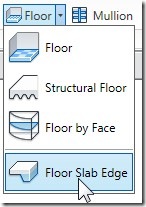
From contextual tab, activate element properties>type properties. Click duplicate button. Give it a new name.
For this type, change the profile to your defined profile.
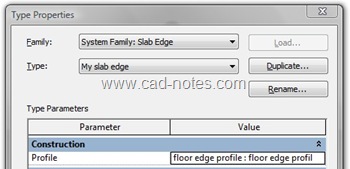
Click OK.
Now click on your floor edges at the void. You will see slab edges added. See this image below as your guide.
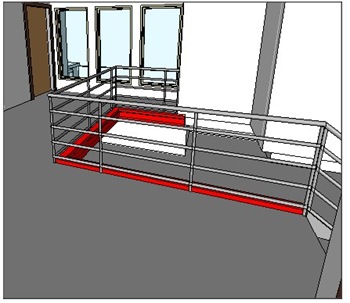
Who said 3D is difficult? :)
But it’s not done yet. We still have gap from ceiling to our floor slab edges.
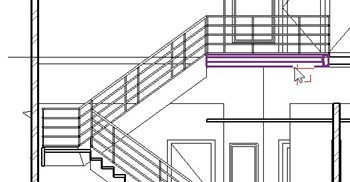
We are going to close it with custom component, a ceiling edge (I really don’t know what it’s name but I hope you know what I mean).
Let’s open 2nd floor plan again. make sure you have a section that cut the void. If you don’t have one yet, create it.
From ribbon>home tab select component>model in-place.
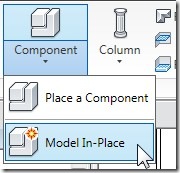
Revit will ask you, what is this family category? Select ceiling, and click OK. Give it name ceiling edge then click OK.
We are going to create a solid sweep. Activate it from your ribbon.
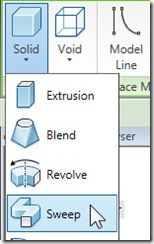
There are two components you have to create to define a sweep: path and profile. Let’s create path first. Click sketch path from your ribbon.
Create a path at your floor edge. You will see a dashed line with red point on it. That’s where you are going to draw your profile. If the dashed line is not in front of your section, drag it until you can see it on your section view.
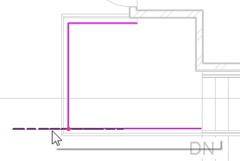
Click finish path.
By default, contextual tab will open modify profile. Click edit profile on that tab. Revit will ask you a question: which view do you want to use to draw your profile? Select your section view, click open view.
Now, draw your ceiling edge profile. draw a closed profile, similar too this. If this one looks too ugly for you, create it as you like, as long as it close all the gap.
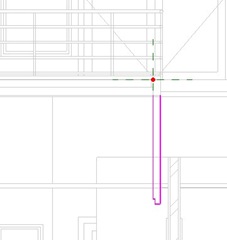
Shouldn’t sweep profile and sweep path coincident? Apparently not. My path doesn’t coincident with my profile, and it still works :)
Click finish profile. Click finish sweep. Then click finish model. That’s the object hierarchy. Inside your model, you have a sweep. Sweep is created from a profile (and path). Your need to click finish several times to end this.
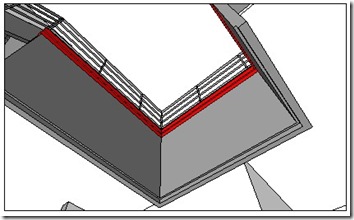
Now take a look to our floor slab edge and ceiling edge.

Komentar
Posting Komentar