Revit Architecture User Interface
Revit Architecture User Interface
by
I believe that first thing you should getting familiar with, when learning Revit is the interface. Sure, all Windows compliant software might look and taste the same. But some specific tools only available in Revit. Plus it has a specific workflow. Revit just change the interface since 2010. So I decided to use it, not 2009 or older. If you use older version, you might have to refer to manual or help file. But besides the ribbon bar, it’s not that different ;)
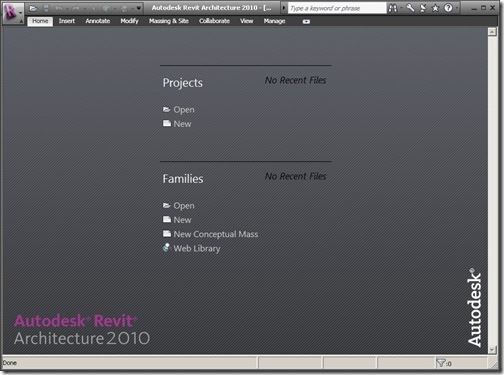
First time you started Revit, you will see a startup page like this. No, it doesn’t open a file at startup. So click new under project category to start a new project.

Here is how she looks like.

Let’s explore the interface elements one-by-one.
1. Ribbon Bar
You might already familiar with ribbon interface. Microsoft Office 2007 use it. AutoCAD use it since ACAD 2009. And now, looks like all Autodesk 2010 products use it.
Ribbon has several tabs. Each tabs contains specific tools. Home tab contain most used tools in RAC. So if you want to place a wall, find wall tool in ribbon.
2. Contextual Bar
This is also something new. Each time you activate a tool or select an object, ribbon will show contextual tab. This tab contains options related to that object. Like this example, you can change the wall type in element section, or you can draw an arc wall by defining it in draw section.
3. Option Bar
Option bar only appear when you activate a tool. Option bar allows you to define how you want an object to be placed. In this example, the wall height, wall location line, wall offset, and radius (for arch walls).I feel a little bit annoyed wondering why does this bar still exist. I wonder why don’t Autodesk just put it all together in contextual bar?
4. Project Browser
Project browser is the most important feature to access your project. You can access all of the views, families, groups, and Revit links using this browser. If you want to see or modify floor plan for level 2, just double click it in the browser. The current view will be highlighted in the browser.
5. Drawing Area
Drawing area is where you can interact with your model. You can add, view, and select then modify your model here.6. Navigation Bar
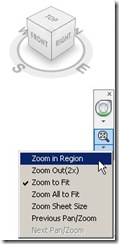
Navigation bar is also become a standard in all Autodesk products’ interface. Navigation bar contains navigation tools such as zoom, steering wheel, and view cube.
7. View Control
View control provides you tools for changing the drawing scale, detail level, and model graphic style (hidden, shaded, etc)
8. Status Bar
Status bar is where Revit will tell you what to do. If you activate door tool, the status bar will display:Click on Wall to place Door (Space bar to flip the instance left/right)Pay attention to status bar, especially if you new to Revit. And also when you are playing with a new tool. It will guide you so you won’t get lost!
9. Contextual Menu/Shortcut Menu
I prefer to use ‘contextual menu’, but in the help file, they name it shortcut menu. So let’s just use it. You can access this menu by click your right mouse button.Get familiar with the interface. You don’t have to remember all of the now. But when you need to access your view or access a tool, you should know which part of the interface you should looking for.


Komentar
Posting Komentar