Defining Room and Room Legend
Defining Room and Room Legend
by
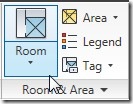 Room is one type of information you can add to your Revit model. That’s
why we call it building information modeling (BIM). It’s not just lines
and text. It can hold a lot of information in your building model. This
time we will define rooms in our design, and create a room schedule.
Room is one type of information you can add to your Revit model. That’s
why we call it building information modeling (BIM). It’s not just lines
and text. It can hold a lot of information in your building model. This
time we will define rooms in our design, and create a room schedule.Let’s open again your project file. Open 1st floor plan view.
Defining Rooms
Activate room tool from ribbon> home tab> room & area panel. Move your pointer to your floor plan. you will see it’s highlight your rooms. Revit will automatically recognize your rooms separated by walls. Define rooms for rooms as you see below. Simply move your pointer inside a room, and click your mouse. Revit will place the tag automatically. If you don’t like it, uncheck the ‘tag on placement’ option on option bar.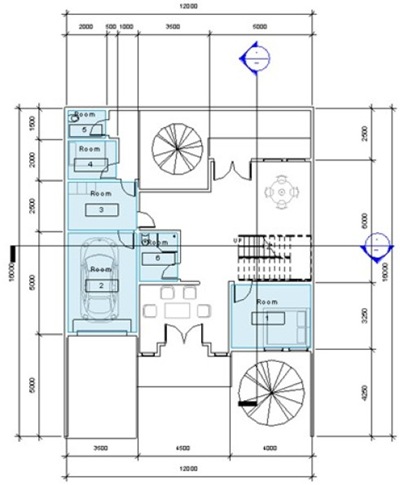
Room Separation Line
There’s one room left. We don’t want the living room defined as one large room from front through the back. And we want to exclude the stair area from living room. But Revit can’t recognize them as separate room because we don’t place wall there.We can separate them by placing room separation line.
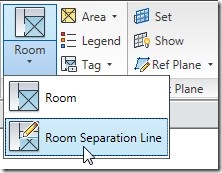
This will activate sketch tool. Simply draw lines that separate the rooms. Snap the line to existing wall, and draw it to the next wall. Feel free to define your own room.
After you finish, try to activate room tool again. Place the room definition when you feel it’s correct. Pretty easy, right?
Renaming Rooms
By default, Revit will name your rooms by ‘Room’, and tag it sequentially from the 1st room you define. This is not correct of course. Who wants to have all rooms named by ‘Room’? We can rename it by clicking the room tag to select it. Then click again on room name (or tag number) to rename it. After you’ve done, hit [enter].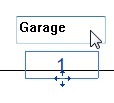
So what if I don’t place room tag? How can I rename the room? Easy, select the room (not room tag, you might need to press TAB to cycle between objects). Click on element properties from ribbon, contextual tab.
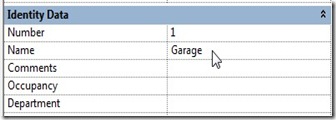
You can change the room name, room number, and other data available.
Room Legend
Let’s try to place room legend. But first, right click on your 1st floor plan name on project browser. From context menu, select duplicate view>duplicate with detailing. Rename duplicate with something like ’1st floor legend view’. It’s already active by default.Activate legend tool on your ribbon, room & area panel. You will see the legend on your pointer. Find a place where you feel appropriate, click to place it there.
Revit will ask you which scheme do you want. Change the color scheme to Name, click OK.
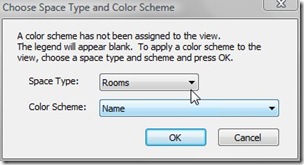
You will see your floor plan become like this.
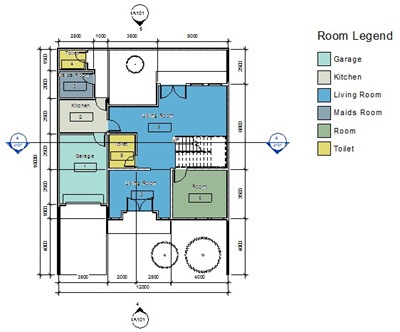
Do you want to try this tool to your 2nd floor plan?


Komentar
Posting Komentar