Creating Railings
Creating Railings
by
 |
| Illustration: stock.xchng |
As this is a tutorial series, if you want to follow this tutorial, it might be better if you follow this tutorial from the beginning.
Open your 2nd floor plan, and place a camera so you can see your stair. You should see your void is wide open. Let’s place railings here so no body will fall from the 2nd story.
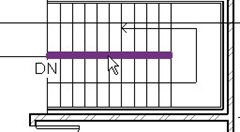
Open your 2nd floor plan again. As we can see, our stair is already have railings. We will edit the existing railing and add segments to the path. Activate your modify tool. Select the railing as shown below. Press [tab] several times if you have difficulties in selecting it. When it’s highlighted, click it to select.

Now from your ribbon, activate edit path.

Finish this path like below. Two thing to consider:
- Make sure your path is a continuous line. Revit won’t allow if this line has gaps.
- The stair railing has different segment with the void railing. Don’t lengthen the path. Add a new segment. (You might want to try it to see the difference)
After you finish, click Finish from your ribbon bar.
We’ve just edit an existing path. Now we will create a new one on the balcony, let’s start from the front. Activate railing tool.

Make sure chain check box is active, and change the offset value to 75.
Snap to your walls and draw the path as below:
Change the type by accessing properties. Change it to “900mm Pipe”. Click finish.
Create railing for the back side balcony, then you are finish in this tutorial.

Komentar
Posting Komentar